Welcome to the world of professional Python development! If you're transitioning from simple text editors to a full-featured Integrated Development Environment (IDE), PyCharm Community Edition is an excellent choice. This comprehensive guide will walk you through everything you need to know to get started with PyCharm, from installation to creating your first project.
Why Choose PyCharm Community Edition?
PyCharm Community Edition is a free, open-source IDE developed by JetBrains specifically for Python development. Unlike basic text editors, PyCharm provides intelligent code completion, on-the-fly error detection, quick fixes, and powerful refactoring tools that significantly boost your productivity.
The Community Edition includes all the essential features you need for Python development, including support for popular frameworks like Django, Flask, and scientific tools like NumPy and Matplotlib. While the Professional Edition offers additional features for web development and database tools, the Community Edition is more than sufficient for most Python developers, especially those just starting their journey.
System Requirements
Before we begin, let's ensure your system meets the minimum requirements for running PyCharm smoothly:
- RAM: 4 GB minimum, 8 GB recommended
- Disk Space: 2.5 GB for installation plus at least 1 GB for caches
- Screen Resolution: 1024x768 minimum
- Operating System: Windows 10 or later, macOS 10.14 or later, or any modern Linux distribution
- Python: Python 3.6 or later (we'll cover installation if you don't have it)
Step 1: Installing Python
If you don't already have Python installed on your system, you'll need to install it before setting up PyCharm. Here's how to do it for different operating systems:
Visit the official Python website at python.org and download the latest Python 3.x installer. Run the installer and make sure to check the box that says "Add Python to PATH" before clicking "Install Now". This crucial step ensures you can run Python from any command prompt window.
macOS comes with Python pre-installed, but it's often an older version. Download the latest Python installer from python.org and run it. Alternatively, you can use Homebrew by running brew install python3 in your terminal.
Most Linux distributions come with Python pre-installed. You can verify this by opening a terminal and typing python3 --version. If you need to install or update Python, use your distribution's package manager. For Ubuntu/Debian, run sudo apt-get install python3.
After installation, open a terminal or command prompt and type python --version or python3 --version to verify that Python is correctly installed and accessible from your PATH.
Step 2: Downloading PyCharm Community Edition
Now that Python is installed, let's get PyCharm Community Edition:
- Navigate to the JetBrains website at
jetbrains.com/pycharm - Click on the "Download" button
- Select "Community" edition (it's completely free)
- Choose your operating system (Windows, macOS, or Linux)
- The download should start automatically
Step 3: Installing PyCharm
The installation process varies slightly depending on your operating system:
Windows Installation
- Run the downloaded
.exeinstaller file - Follow the installation wizard
- Choose the installation location (default is usually fine)
- Select additional options:
- Create Desktop Shortcut (recommended)
- Update PATH variable (recommended)
- Create Associations for
.pyfiles (optional) - Add "Open Folder as Project" to context menu (useful)
- Click "Install" and wait for the process to complete
- Launch PyCharm when installation finishes
macOS Installation
- Open the downloaded
.dmgfile - Drag the PyCharm icon to your Applications folder
- Open PyCharm from your Applications folder
- If you see a security warning, go to System Preferences > Security & Privacy and click "Open Anyway"
Linux Installation
- Extract the downloaded
.tar.gzarchive to your desired location - Navigate to the
bindirectory inside the extracted folder - Run
./pycharm.shfrom the terminal - Optionally, create a desktop entry for easier access
Step 4: First Launch and Initial Configuration
When you launch PyCharm for the first time, you'll be greeted with a series of configuration screens. Let's walk through them:
Import Settings
On your first launch, PyCharm will ask if you want to import settings from a previous installation. Since this is your first time, select "Do not import settings" and click "OK".
Data Sharing
JetBrains will ask if you want to share anonymous usage statistics. This is entirely optional and helps improve the product. Choose according to your preference.
Customize PyCharm
Next, you'll see the customization screen where you can configure several important settings:
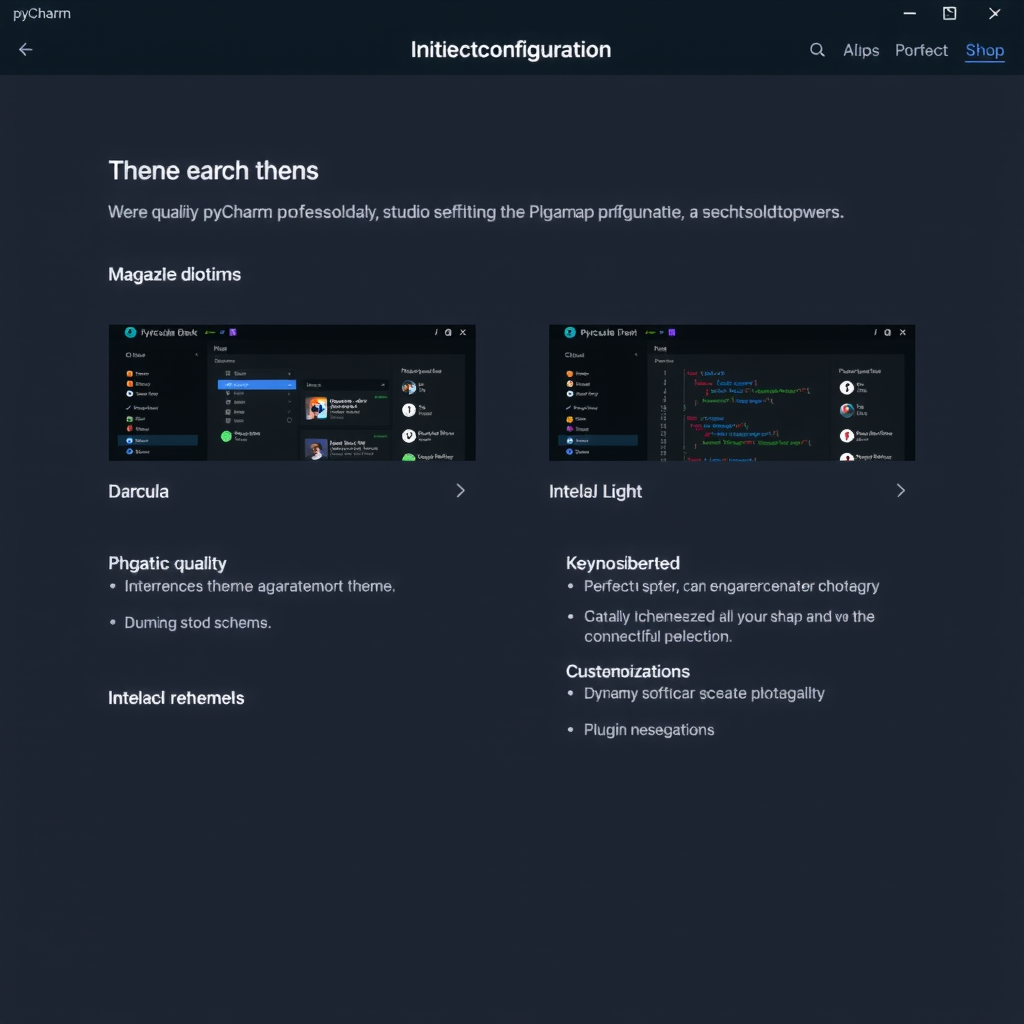
PyCharm offers two main themes: Light (IntelliJ Light) and Dark (Darcula). The dark theme is popular among developers and easier on the eyes during long coding sessions. You can always change this later in Settings.
If you're coming from another IDE or editor (like Visual Studio Code, Sublime Text, or Emacs), you can select a keymap that matches your familiar shortcuts. For beginners, the default PyCharm keymap is recommended as most tutorials and documentation reference it.
PyCharm will suggest some featured plugins. For now, you can skip this step and install plugins later as you discover what you need. Click "Skip Remaining and Set Defaults".
Step 5: Creating Your First Project
Now comes the exciting part - creating your first Python project in PyCharm!
Starting a New Project
- From the Welcome screen, click "New Project"
- Choose a location for your project (PyCharm will create a folder here)
- Expand the "Python Interpreter" section
- Select "New environment using Virtualenv" (recommended for project isolation)
- Ensure the base interpreter points to your Python installation
- Check "Create a main.py welcome script" for a starter file
- Click "Create"
A virtual environment is an isolated Python environment that allows you to install packages specific to your project without affecting your system-wide Python installation. This is a best practice in Python development and PyCharm makes it easy to manage.
Understanding the PyCharm Interface
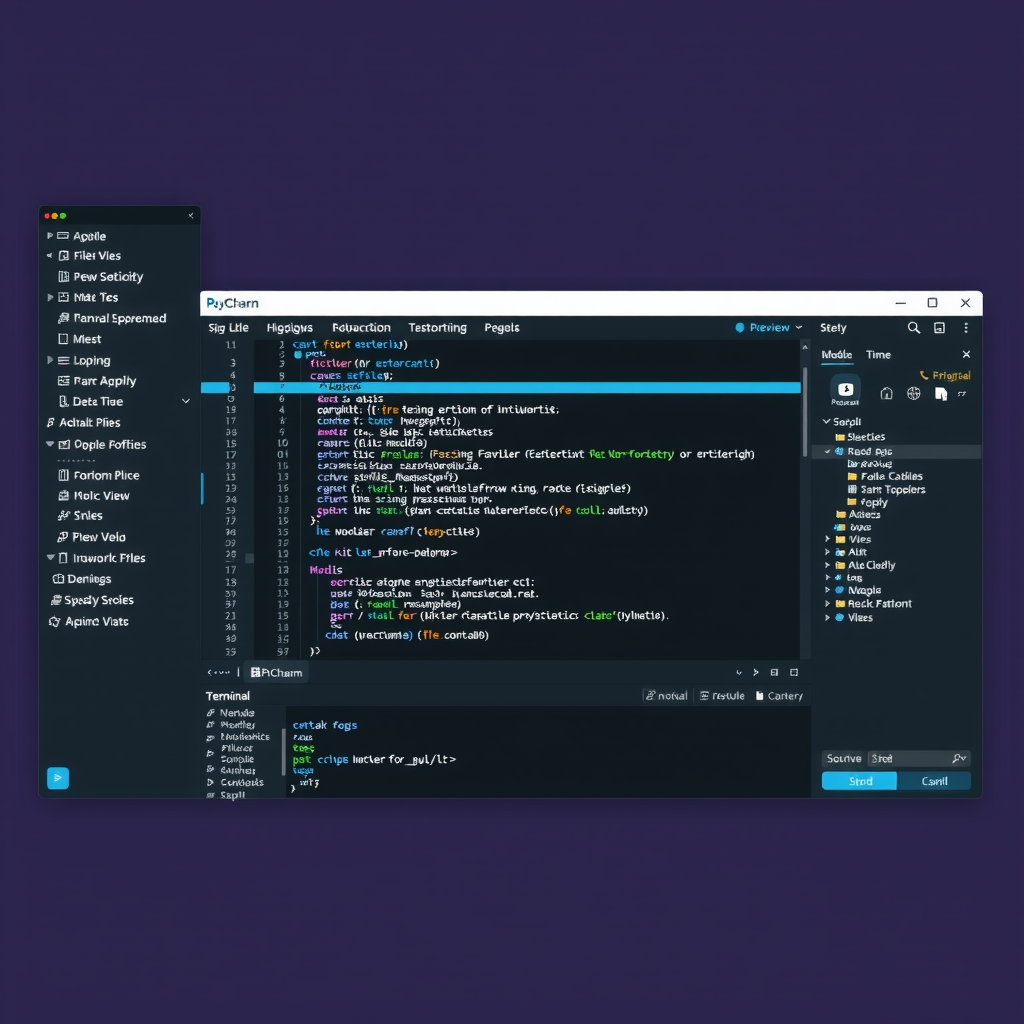
Once your project is created, you'll see the main PyCharm interface. Let's break down the key components:
This shows your project structure, including all files and folders. You can navigate your project, create new files, and organize your code here. The project view shows your source files, virtual environment, and external libraries.
This is where you write your code. PyCharm's editor provides syntax highlighting, code completion, and real-time error detection. Notice the line numbers on the left and the scrollbar on the right that shows an overview of your file.
These provide access to various tools like the Python Console, Terminal, Version Control, and more. You can show or hide these windows using the buttons at the bottom and sides of the IDE.
Shows your current location in the project and provides quick navigation options. You can click on any part of the path to navigate to that location.
Step 6: Writing and Running Your First Python Script
Let's write a simple Python program to test everything is working correctly:
- If you created the welcome script, you'll see
main.pyalready open - Replace the content with this simple program:
def greet(name):
    """
    A simple function to greet someone
    """
    return f"Hello, {name}! Welcome to PyCharm!"

def main():
    user_name = input("Enter your name: ")
    greeting = greet(user_name)
    print(greeting)
    print("You're now ready to start coding in PyCharm!")

if __name__ == "__main__":
    main()
Notice how PyCharm provides syntax highlighting, making different parts of your code easy to distinguish. As you type, you'll also see code completion suggestions appearing.
Running Your Program
There are several ways to run your program in PyCharm:
- Right-click anywhere in the editor and select "Run 'main'"
- Click the green play button in the top-right corner
- Use the keyboard shortcut
Shift + F10(Windows/Linux) orControl + R(macOS)
The Run tool window will appear at the bottom, showing your program's output. You can interact with your program by typing in this window when it prompts for input.
If you see your program running and can interact with it, congratulations! You've successfully set up PyCharm and run your first Python program in the IDE.
Step 7: Essential PyCharm Features for Beginners
Now that you have PyCharm up and running, let's explore some essential features that will make your coding experience more productive:
Code Completion and IntelliSense
As you type, PyCharm automatically suggests completions for variables, functions, and methods. Press Tab or Enter to accept a suggestion. This feature, called IntelliSense, understands your code context and provides relevant suggestions.
Quick Documentation
Place your cursor on any function or class and press Ctrl + Q (Windows/Linux) or F1 (macOS) to see its documentation in a popup window. This is incredibly useful for learning about built-in functions and library methods.
Code Navigation
Hold Ctrl (or Cmd on macOS) and click on any function or variable name to jump to its definition. This makes navigating large projects much easier.
Refactoring Tools
Right-click on a variable or function name and select "Refactor" to access powerful refactoring options like renaming (which updates all references automatically), extracting methods, and more.
Integrated Debugger
Click in the left margin next to any line number to set a breakpoint (a red dot will appear). Then run your program in debug mode by clicking the bug icon or pressing Shift + F9. The program will pause at your breakpoint, allowing you to inspect variables and step through your code line by line.
Integrated Terminal
Click on "Terminal" at the bottom of the IDE to open an integrated terminal. This terminal automatically activates your project's virtual environment, making it easy to install packages with pip or run command-line tools.
Version Control Integration
If you're using Git, PyCharm provides excellent integration. You can commit changes, view diffs, and manage branches directly from the IDE. Access these features through the "Git" menu or the Version Control tool window.
Step 8: Installing Python Packages
One of Python's strengths is its vast ecosystem of third-party packages. Here's how to install them in PyCharm:
Using the Python Packages Tool
- Go to File > Settings (or PyCharm > Preferences on macOS)
- Navigate to Project > Python Interpreter
- Click the "+" button to add a new package
- Search for the package you want (e.g., "requests" or "numpy")
- Click "Install Package"
Using the Terminal
Alternatively, you can use the integrated terminal:
pip install package-nameThe terminal in PyCharm automatically uses your project's virtual environment, so packages are installed in the right place.
Always install packages within your project's virtual environment, not system-wide. PyCharm handles this automatically when you use the integrated terminal or package manager.
Step 9: Customizing Your PyCharm Experience
PyCharm is highly customizable. Here are some settings you might want to adjust:
Editor Settings
Go to File > Settings > Editor to customize:
- Font: Change the editor font and size under Font
- Color Scheme: Customize syntax highlighting colors under Color Scheme
- Code Style: Configure indentation, line length, and formatting rules under Code Style > Python
- Inspections: Enable or disable specific code quality checks under Inspections
Keymap Customization
If you want to change keyboard shortcuts, go to File > Settings > Keymap. You can search for any action and assign your preferred shortcut.
Plugins
Extend PyCharm's functionality with plugins. Go to File > Settings > Plugins to browse and install plugins. Some popular ones include:
- Markdown: For editing README files
- Rainbow Brackets: Color-codes matching brackets
- Key Promoter X: Helps you learn keyboard shortcuts
- .ignore: Support for .gitignore files
Common Beginner Issues and Solutions
Python Interpreter Not Found
If PyCharm can't find your Python interpreter, go to File > Settings > Project > Python Interpreter and manually select your Python installation. Click the gear icon and choose "Add" to browse for Python on your system.
Import Errors
If you're getting import errors for packages you've installed, make sure you're using the correct interpreter. Check that the package is installed in your project's virtual environment, not system-wide.
Slow Performance
If PyCharm feels slow, try these solutions:
- Increase the memory allocation in Help > Change Memory Settings
- Exclude unnecessary directories from indexing (right-click folder > Mark Directory as > Excluded)
- Disable unused plugins in File > Settings > Plugins
Code Not Running
If your code isn't running, check that:
- You've saved your file (File > Save All or
Ctrl + S) - There are no syntax errors (look for red underlines in the editor)
- You're running the correct file (check the run configuration in the top-right)
Next Steps in Your PyCharm Journey
Now that you're comfortable with the basics, here are some next steps to continue improving your PyCharm skills:
- Learn Keyboard Shortcuts: Mastering shortcuts will significantly speed up your workflow. Start with the most common ones and gradually add more to your repertoire.
- Explore the Debugger: Spend time learning to use breakpoints, watches, and step-through debugging. This is one of PyCharm's most powerful features.
- Try Test-Driven Development: PyCharm has excellent support for testing frameworks like pytest and unittest. Learning to write tests will make you a better developer.
- Use Version Control: If you're not already using Git, now is a great time to start. PyCharm's Git integration makes it easy to track changes and collaborate with others.
- Explore Advanced Features: As you become more comfortable, explore features like database tools, remote development, and scientific mode for data science work.
Conclusion
Congratulations on setting up PyCharm Community Edition! You've taken an important step in your Python development journey. While the transition from a simple text editor to a full IDE might feel overwhelming at first, the productivity gains and powerful features will quickly make it worthwhile.
Remember that learning an IDE is a gradual process. Don't try to master everything at once. Start with the basics we've covered here, and gradually explore more features as you need them. PyCharm has excellent documentation and a helpful community, so don't hesitate to seek help when you need it.
The most important thing is to start coding. The more you use PyCharm, the more comfortable you'll become with its features and workflows. Happy coding, and welcome to the PyCharm community!
For more information and advanced tutorials, check out the official PyCharm documentation at jetbrains.com/pycharm/learn. The JetBrains Academy also offers interactive courses for learning Python with PyCharm.